Your Living Balance Sheet Instructions
Congratulations on your new Living Balance Sheet® (LBS) website. You can now view your entire financial picture on your own personal and secure website at anytime. Throughout our work together, we will refer to it to track your financial progress towards achieving your goals. We also may adjust your strategies along the way to help you optimize opportunities.
Follow the steps below to get started.
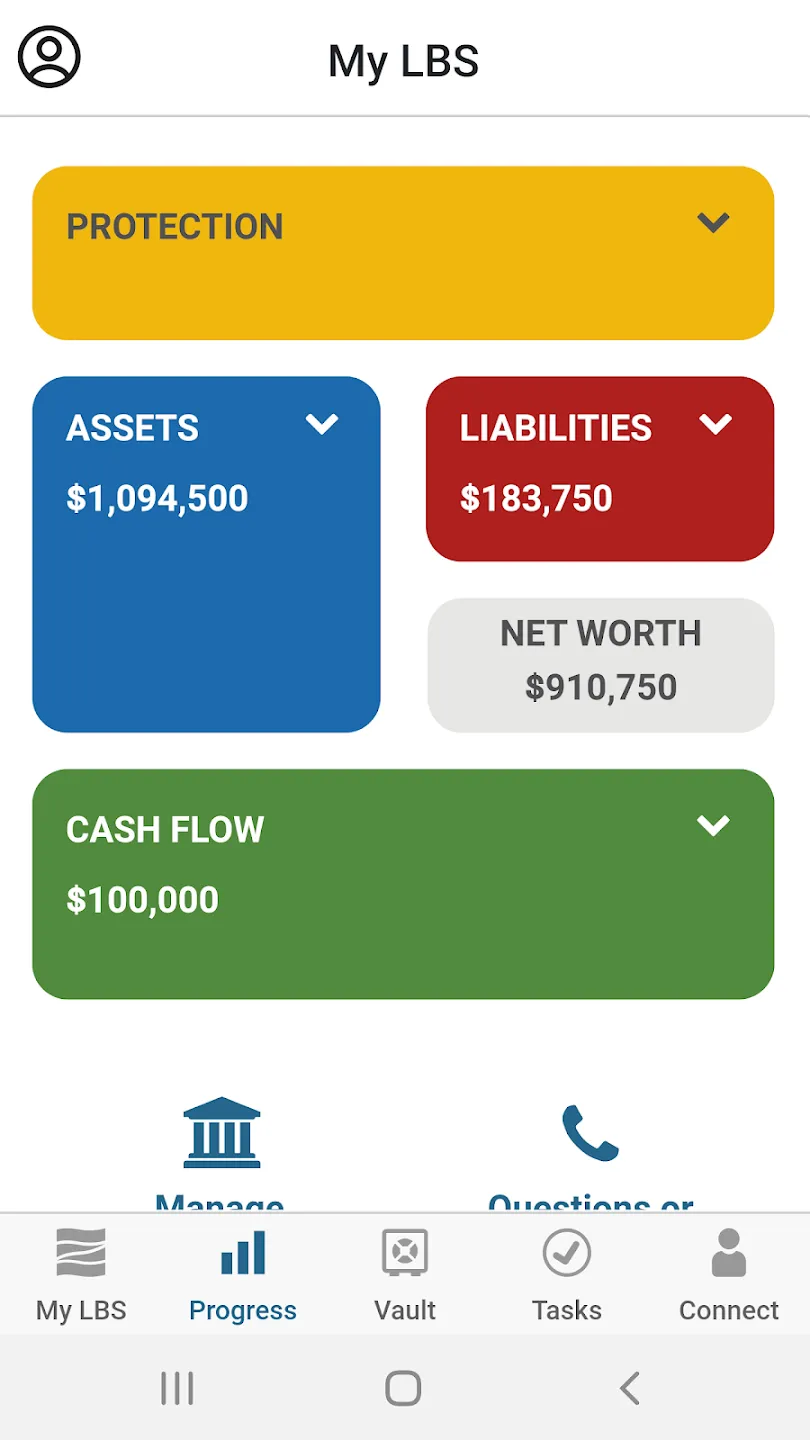
The My LBS page is your homepage which provides a picture of your current financial situation, based on the data that we've entered. You can enter and update your information in the My Data section of the mobile app or the Profile section on your desktop.
LBS Mobile App
The quickest and easiest way to view and manage your financial picture is through the LBS App.

Watch this video to get started.
Connecting to Your Financial Accounts
The Accounts section enables you to connect to your bank accounts and other financial institutions. The account setup process will allow you to search for, and establish a connection with, the financial institutions with which you have online accounts.

Learn how to connect your accounts via the LBS Mobile app with this video.
Adding a Connected Account
LBS Mobile App
- On your homepage, click the “Manage Accounts” icon
- Click the “+” symbol to add a Financial Institution
- Enter part or all of the Institution‘s Name in the search box at the top of the page and click Search.
Proceed to Step 4
Desktop
- On the Accounts page, select a category by clicking the corresponding button (Banks, Credit Cards, Investments, Auto Loans, Mortgages, or Insurance).
- Locate the Financial Institution by selecting one of the 10 popular institutions; OR
- Enter part or all of the Institution‘s Name in the search box at the top of the page and click Search
Proceed to Step 4
Adding a Connected Account (continued)
4. Select the institution by clicking the name in the search results. A pop-up window will appear, prompting you for your user name, password, and/or other log-in credentials.
5. Enter your credentials and click Submit. (These are the same credentials you would use to log on the institution’s own website.)
The system will connect to your online account with the financial institution and will retrieve your account information. The retrieved accounts will be listed in the “Your Connected Accounts” section. The accounts will also be added to the appropriate section of the Full Profile.
Connected Account Errors
When the system detects a problem with one or more of your connected accounts, the institution’s name will be highlighted in the “Your Connected/Linked Accounts” area. Click the institution name to see a description of the issue. This will occur if your credentials (i.e., user name, password, etc.) have been rejected by the institution. This could happen if you changed your password on the institution’s website. Click “Click to fix/Repair this Connection” to update your credentials. Other error conditions may occur if an account is no longer found (e.g., if you closed the account with the institution), or if there is a server error on the institution’s side. For some of these issues, you may need to contact the financial institution to ensure that your accounts are in good standing and your credentials are correct.
Uploading Documents to your Vault
LBS Mobile App
- Click the “+” button to upload a file to an existing folder or to create a new one
- For uploads, click “Locate files” to select the files for upload and select the desired storage folder from the drop-down menu. Click “Upload”.
- To create a new folder, input the folder name and select the desired storage folder from the drop-down menu. Click “Save.”
Desktop
- Click “Upload Files” to store a document into an existing folder
- Select the desired storage folder from the drop-down menu, then select the files for upload or drag & drop into the blue box. Click “Add files.”
- To create a new folder, click “Add Folder.”
- Click on the desired category (Personal, Protection, Assets, Liabilities, Cash Flow)
- Click “Add Folder” and type the name of your folder (changes can be made by right-clicking on the folder)
Entering your Living Expenses
LBS Mobile App
- Click your profile icon on the top left
- Navigate to My Data > Cash Flow
- Click the "+" symbol on the top right to add a Living expense
Desktop
- Click the Profile tab at the top
- Navigate to the Cash Flow icon
- Click "Add Living Expense" to add a Living Expense item
FINANCIAL REPRESENTATIVE DISCLOSURE
The Living Balance Sheet (LBS) is a registered service marks of The Guardian Life Insurance Company of America (Guardian) New York, NY © 2005-2023. LBS displays the financial holdings identified by the client based upon information and valuations provided directly by the client or by electronic feeds from the client’s financial institutions. Valuations provided by electronic feeds reflect the most current information provided by the financial institution as of the date and time noted, but can reflect valuations from an earlier date and time. Pub 10662 2023-163301 Exp.10/25.